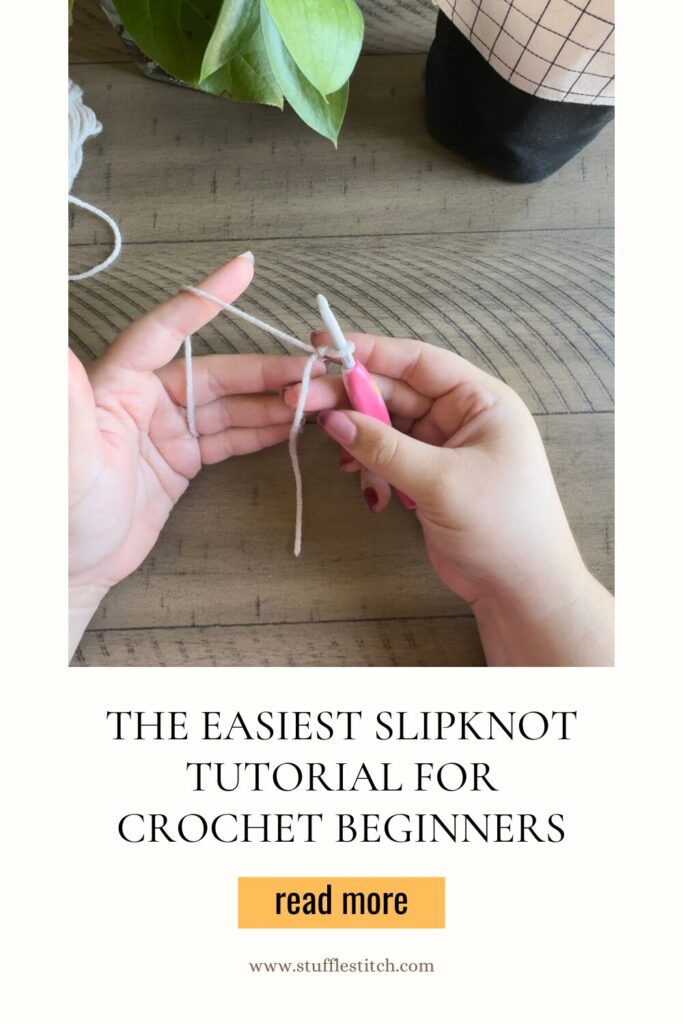
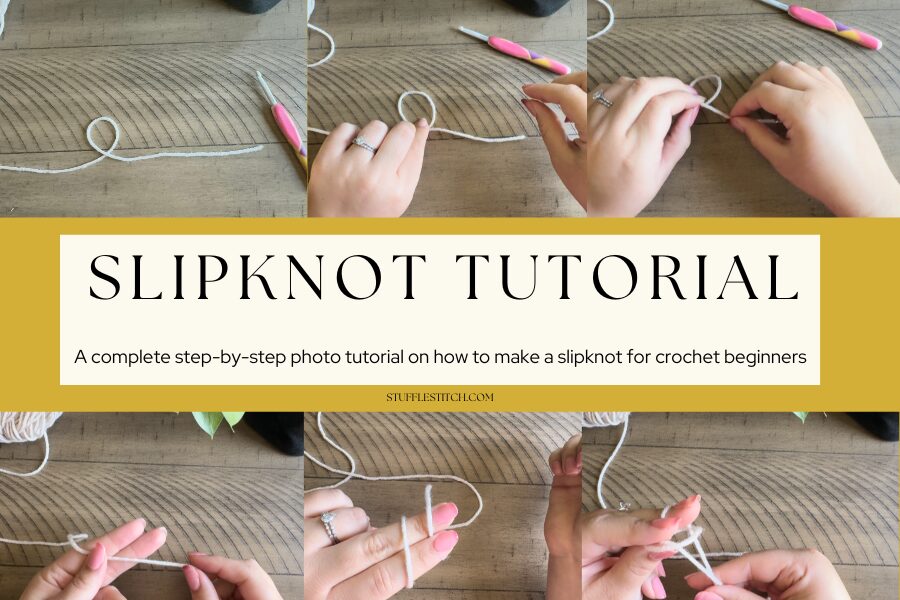
Before you can learn the most basic of crochet stitches, you first need to learn how to make a slipknot. The slipknot is the starting point before you begin to make your starting chains.
Most people believe the chain stitches are the sole foundation (which they are) however, the slipknot is the knot that keeps the chain stitches and everything else from unraveling. It’s essentially the foundation to the foundation of a crochet project.
To fully learn and understand how to crochet, you must know how to make a slipknot.
In this slipknot tutorial, we will go over the exact steps to make a slipknot with ease.
This post may contain affiliate links, which means I may receive a small commission at no cost to you if you purchase through one of my recommendations. For more information read our Disclaimer.
Slipknot Methods
There are many different ways to make a slipknot. However, I want to go over a couple that I find the easiest for beginners. These options have fewer steps than the others and let’s be honest, who wants to work hard? I don’t!
Now the first slipknot tutorial does have a few more steps, however, it has the same concept. I wanted to add this one because it is easier than other slipknot tutorials and I use it every time!
Slipknot Tutorial #1
To first make a slipknot, you will need to grab the end of the yarn you are working with and ensure your hook is nearby. I also want to mention that I am right-handed. However, if you are left-handed, you can still do either method.
To begin, I use my non-dominant left hand and make a peace sign with my index and middle fingers.
With the inside of your hand facing you lay the yarn end on top of your index and middle fingers and hold it with your thumb.
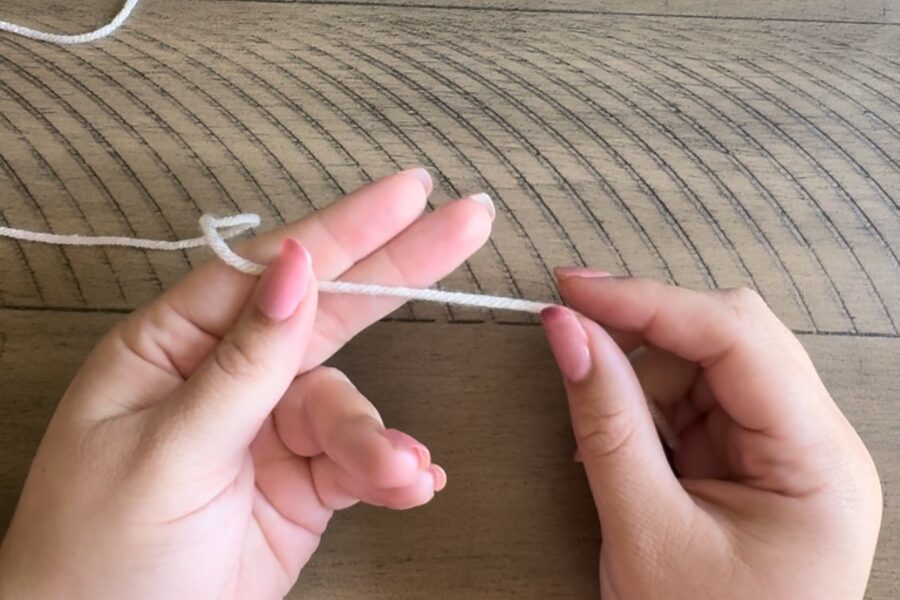
While your thumb and two fingers are holding the yarn in place, make sure to hold the yarn with your free hand. With your dominant hand, wrap the yarn around your index and middle fingers on your non-dominant hand.
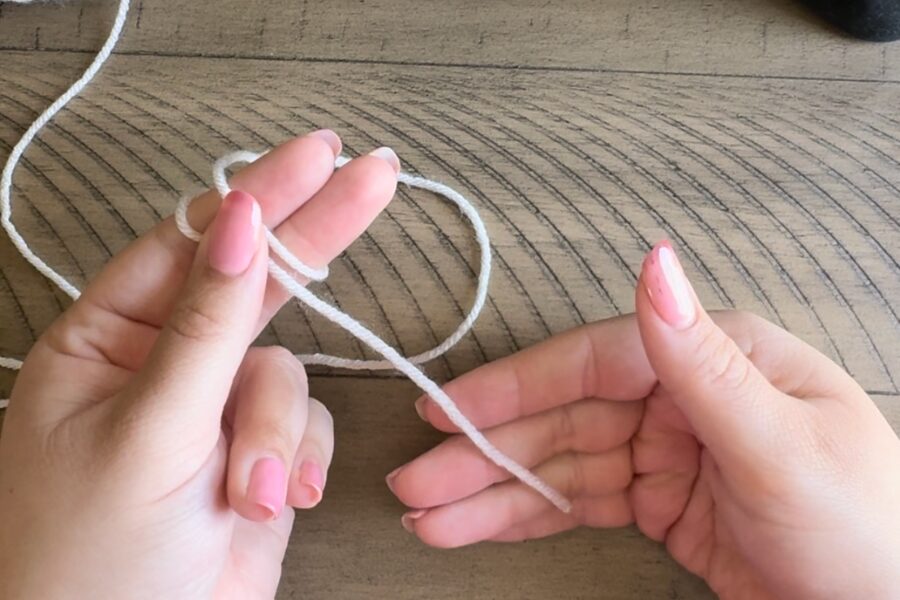
Once you have wrapped the yarn around hold both ends of the yarn with your index and thumb. Grab the yarn end and place it between your index and middle fingers.
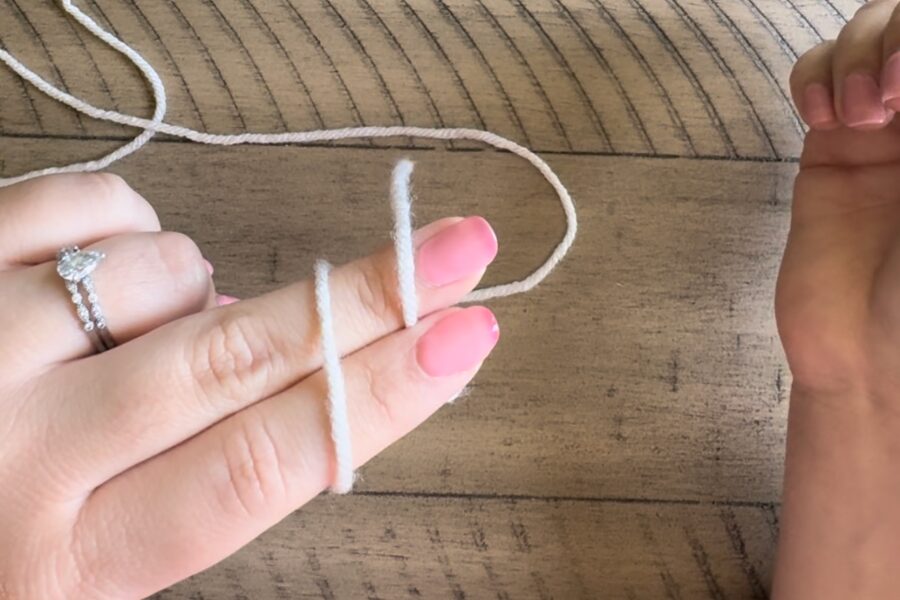
With the back of your hand now facing you and the yarn end still in between your index and middle fingers, grab the loop closest to your knuckles on both your index and middle fingers and pull it just over your nails.
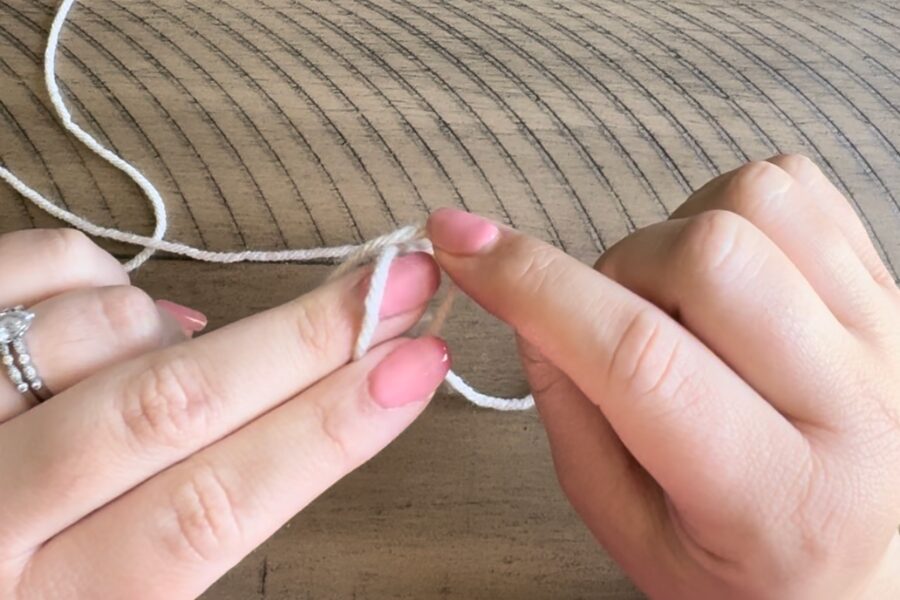
Hold both ends of the yarn with your dominant hand and you should now have a loop on your index or middle finger.
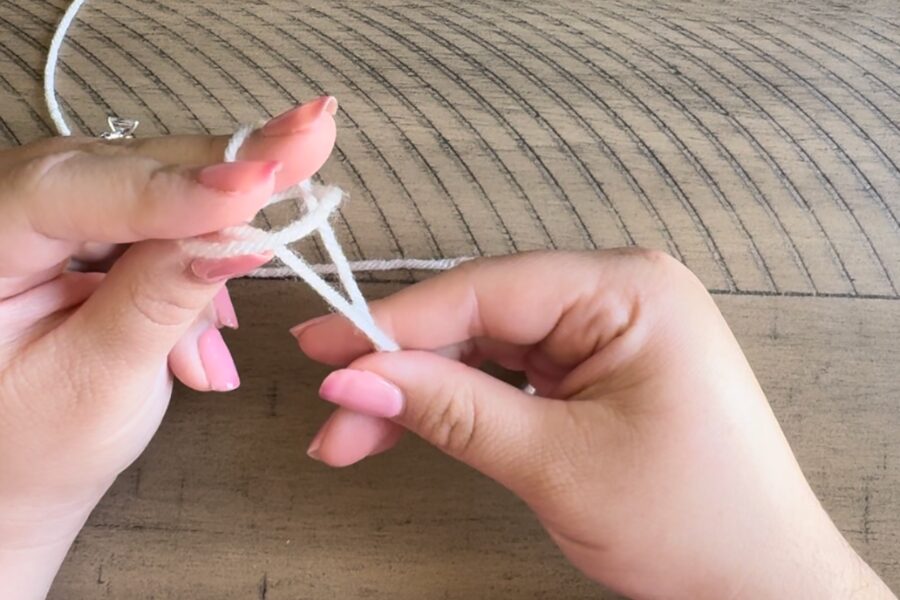
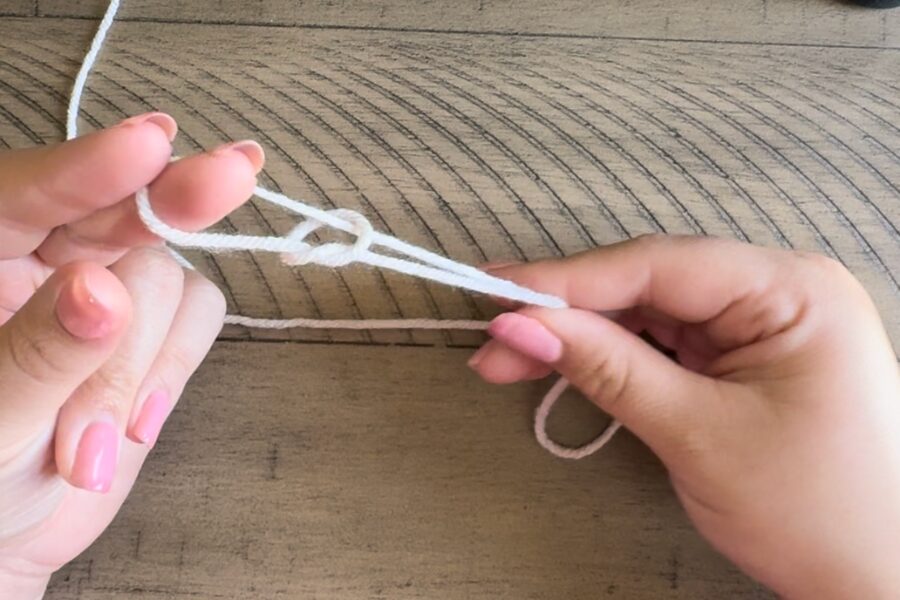
From here insert your hook through the loop and tighten it a bit by pulling on the yarn end.
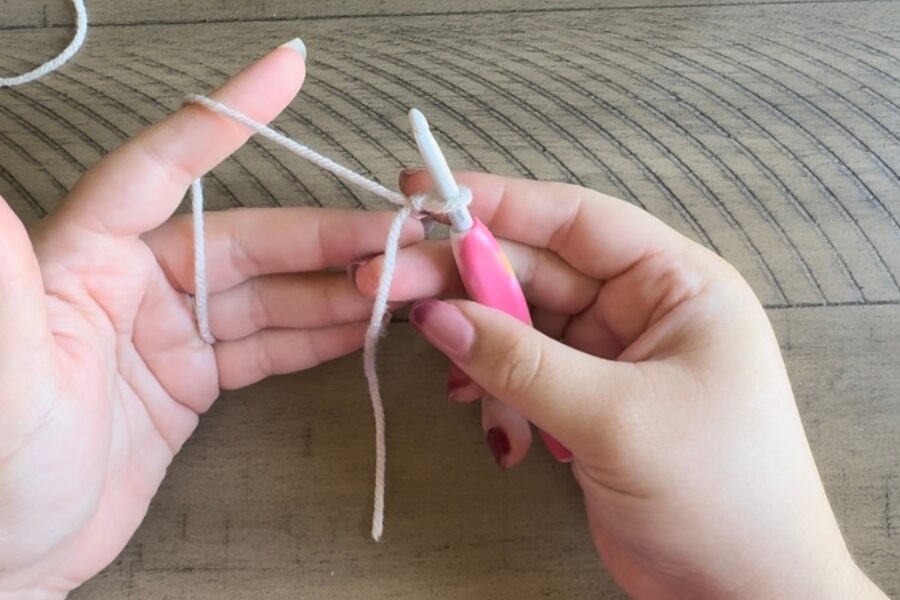
Congrats, you have completed the first slipknot tutorial!
Slipknot Tutorial #2
This method is just as quick and easy!
First pull the yarn tail and lay it flat on the table.
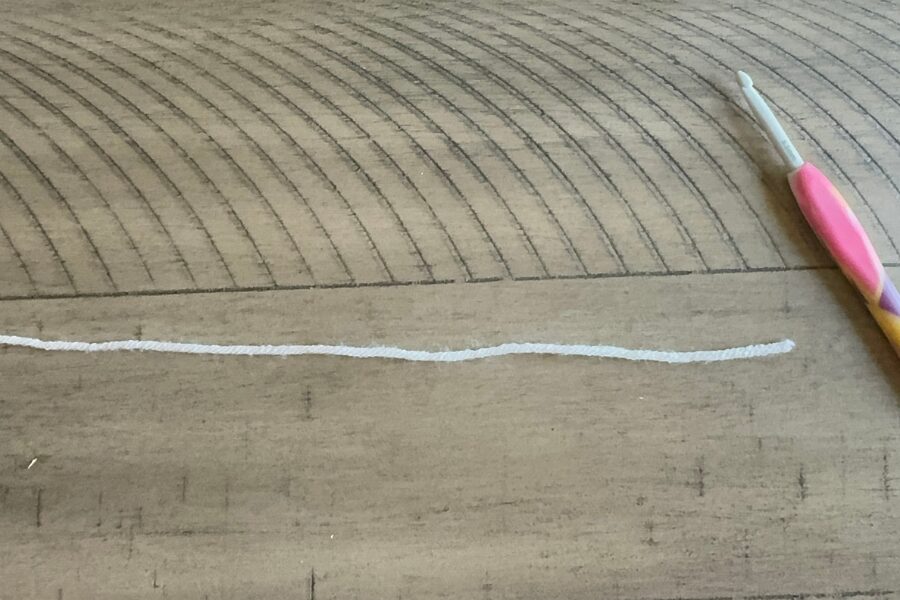
Grab the yarn towards the middle of both yarn ends and make a loop.
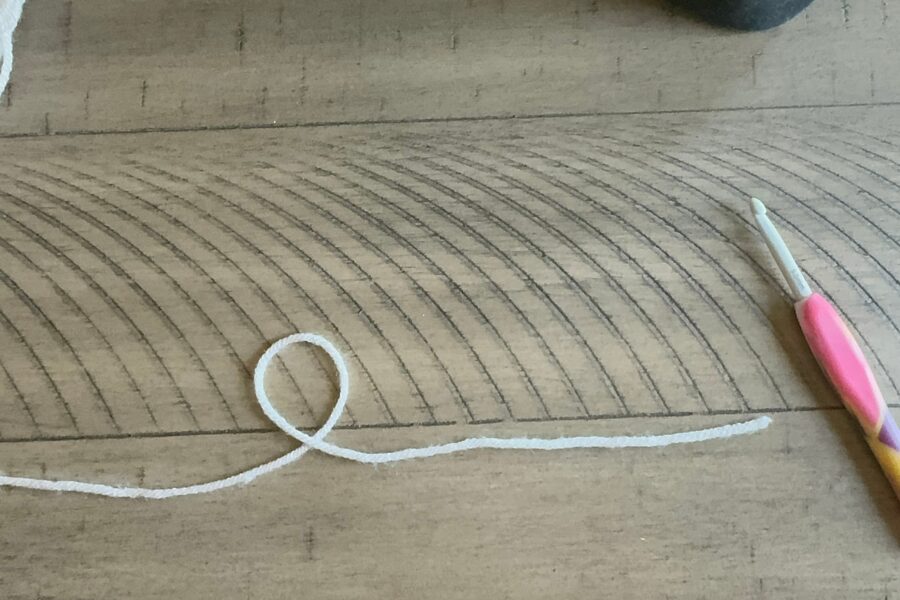
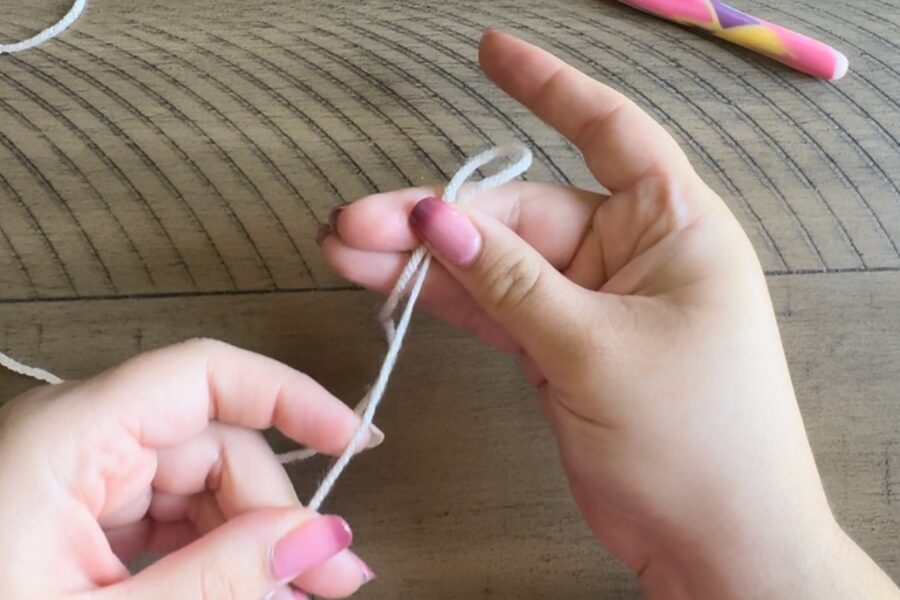
Grab the base of the loop where the yarn overlaps with your thumb and index finger with your non-dominant hand.
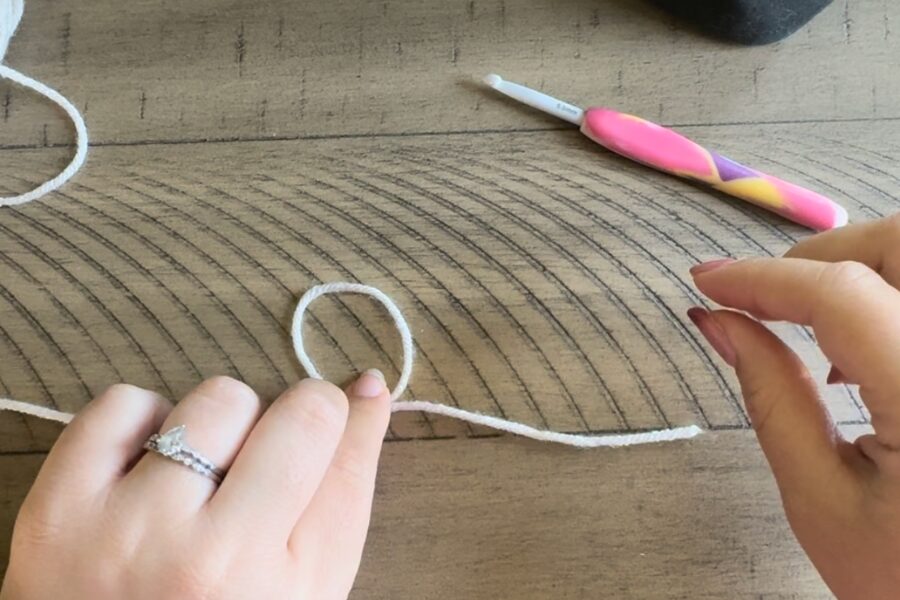
With your thumb and index finger on your dominant hand, go through the back of the loop and grab the free yarn end with your non-dominant hand.
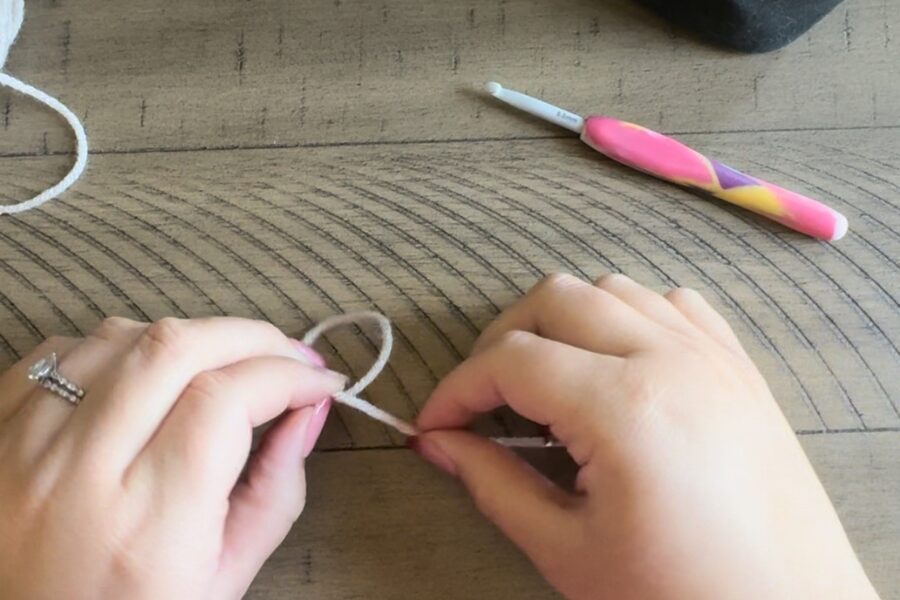
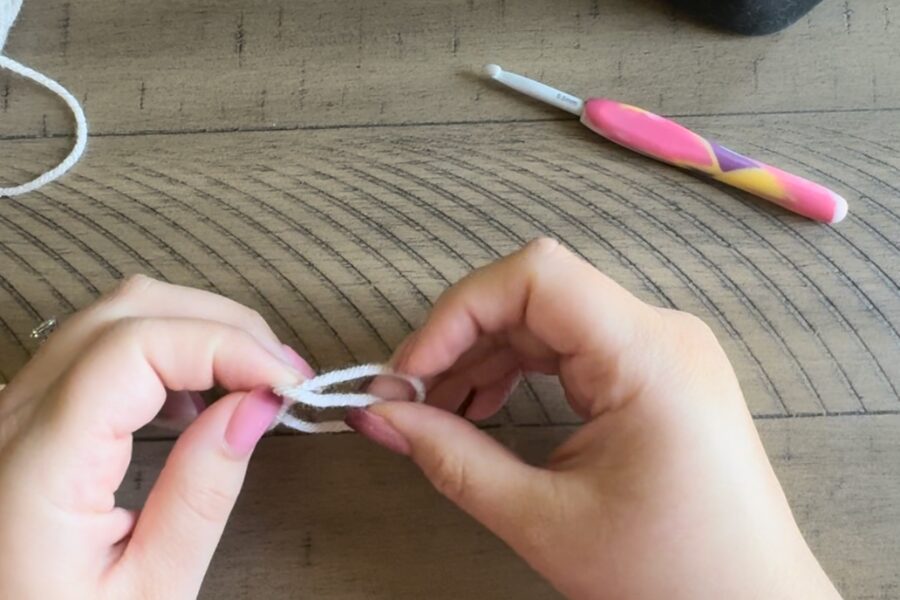
Once you have pulled the yarn through the loop and grabbed it with your index finger, pull both yarn ends with your non-dominant hand and the loop should be pulled with your index finger on your dominant hand. You will begin to see the slipknot formed.
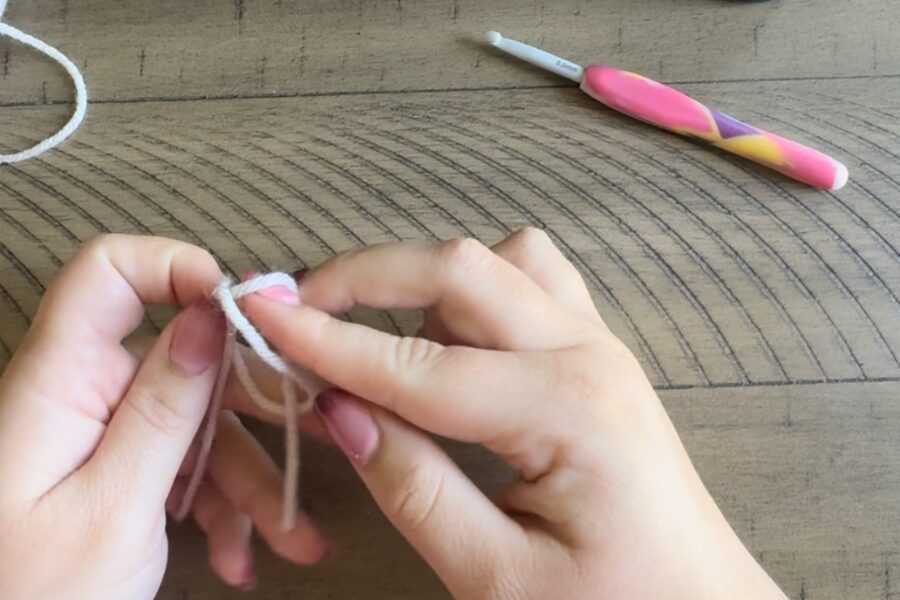
Hold both ends of the yarn and tighten the yarn by pulling down. This will create the slipknot under the loop.
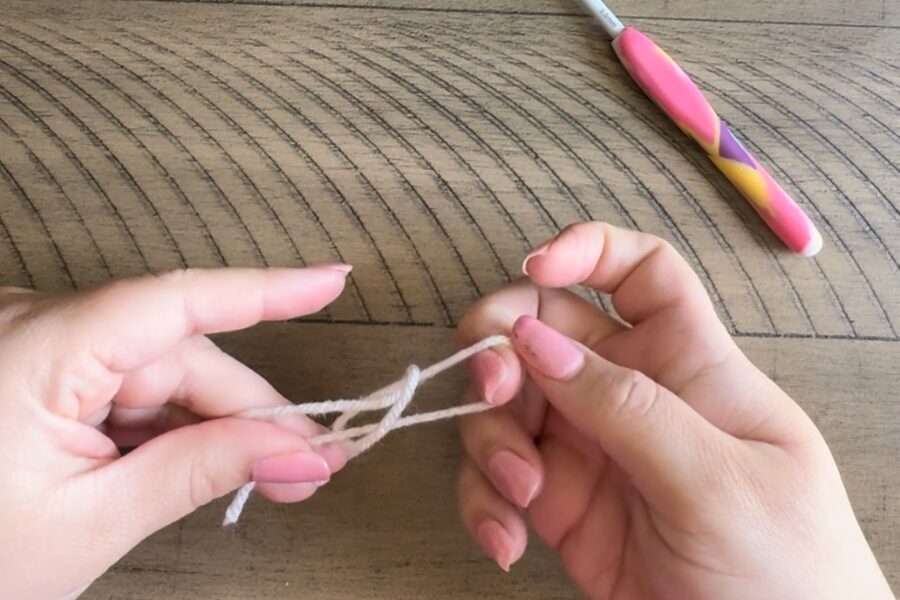
From here insert your hook through the loop and tighten it a bit by pulling on the yarn end.

Congrats, you now know two methods to make a slipknot!
Making the slipknot is super simple once you get the hang of it. After you begin crocheting regularly this slipknot tutorial will become second nature. However, when making a slipknot, I always use the methods shown in the tutorial.
If you would like to know the exact yarn and crochet hook I used in this slipknot tutorial, you may find the yarn and crochet hook here. I hope you enjoyed this slipknot tutorial and as always, don’t forget to share it with a friend!
Don’t forget to Pin this image for later!
